Blog
Making a mosaic from random i mages
If you’ve seen any recent pop art (or in fact, kept abreast of the arts section in most newspapers), you’ll probably have seen things like this (found here);
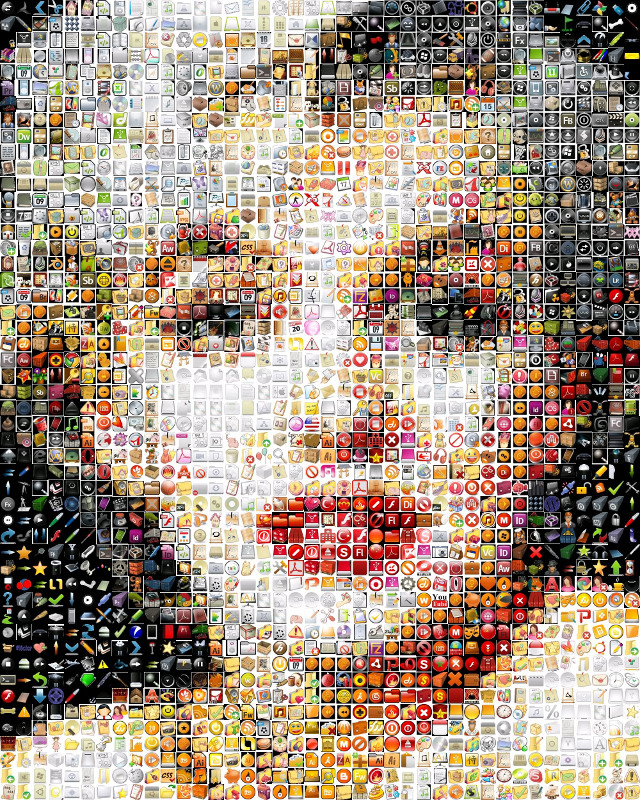
Or this;

Lately, I was thinking about making something similar as a side project, using a set of random images as mosaic tiles. The idea was to make something – maybe to print out a bunch of pictures and arrange them into a poster, for example. However, the process of finding a large enough and diverse enough set of images is time-consuming, and figuring out which images should go where is really labour-intensive. I’m FAR too lazy to do all of that by hand.
Fortunately, this is actually pretty easy to do. There are two steps to this mini-project: acquiring and pre-processing a set of images, and then arranging them into a mosaic.
Acquiring and pre-processing image tiles
I (somewhat lazily) settled on using Flickr images. I wrote a short script to search Flickr for photos with a particular set of tags (and of course, filtered the images by Creative Commons licences), and download them.
Then, I wrote another script to centre, crop, and resize these images into 32x32 pixel tiles. Now that the images are preprocessed into tiles of the same dimensions, they are ready to be used in a mosaic. Even though my starting dataset was only 500 images, the results were surprisingly good.
Arranging into a mosaic
A plain English algorithm for arranging these pre-processed images goes something like this:
- Read in the target image (the image to be made into a mosaic)
- Read in all of the image tiles
- For each image tile
- Calculate the tile’s average colour
- Store that in a data structure somewhere (we will use this later)
- Create a blank image, with scaled up dimensions - to accommodate the tiles
- For each pixel in the target image
- Get the pixel’s colour in RGB
- Find the image tile with the closest-matching colour
- Paste the corresponding image tile into the blank image we created earlier
- Save the output image
Finding the best-matching tile
I averaged each colour channel across the entire image, and made the assumption that the resulting colour was the primary colour of the entire image.
Finding the best match for an individual pixel in a set of image tiles is actually quite straightforward, too – just take some distance measure (I used Manhattan distance) between each colour channel between the pixel and the average colour of each tile, and then sort the image tiles by distance. The tile at the top of the list will be the best match. Simples.
The results
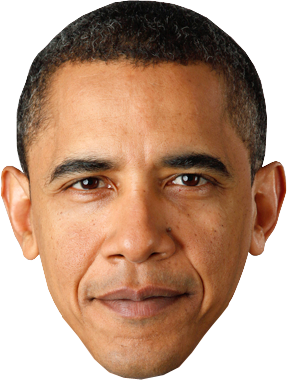
I did a little experimentation to figure out if it worked. Initially, it worked surprisingly well, but (as I’d guessed would probably happen), a lot of images got re-used and made the overall effect a bit rubbish. I’ll demonstrate this using a rather fetching picture of President Obama (in keeping with the toasty tribute earlier).
For reference, here’s what the target image looks like:
My initial attempt worked, but looked a bit like this:
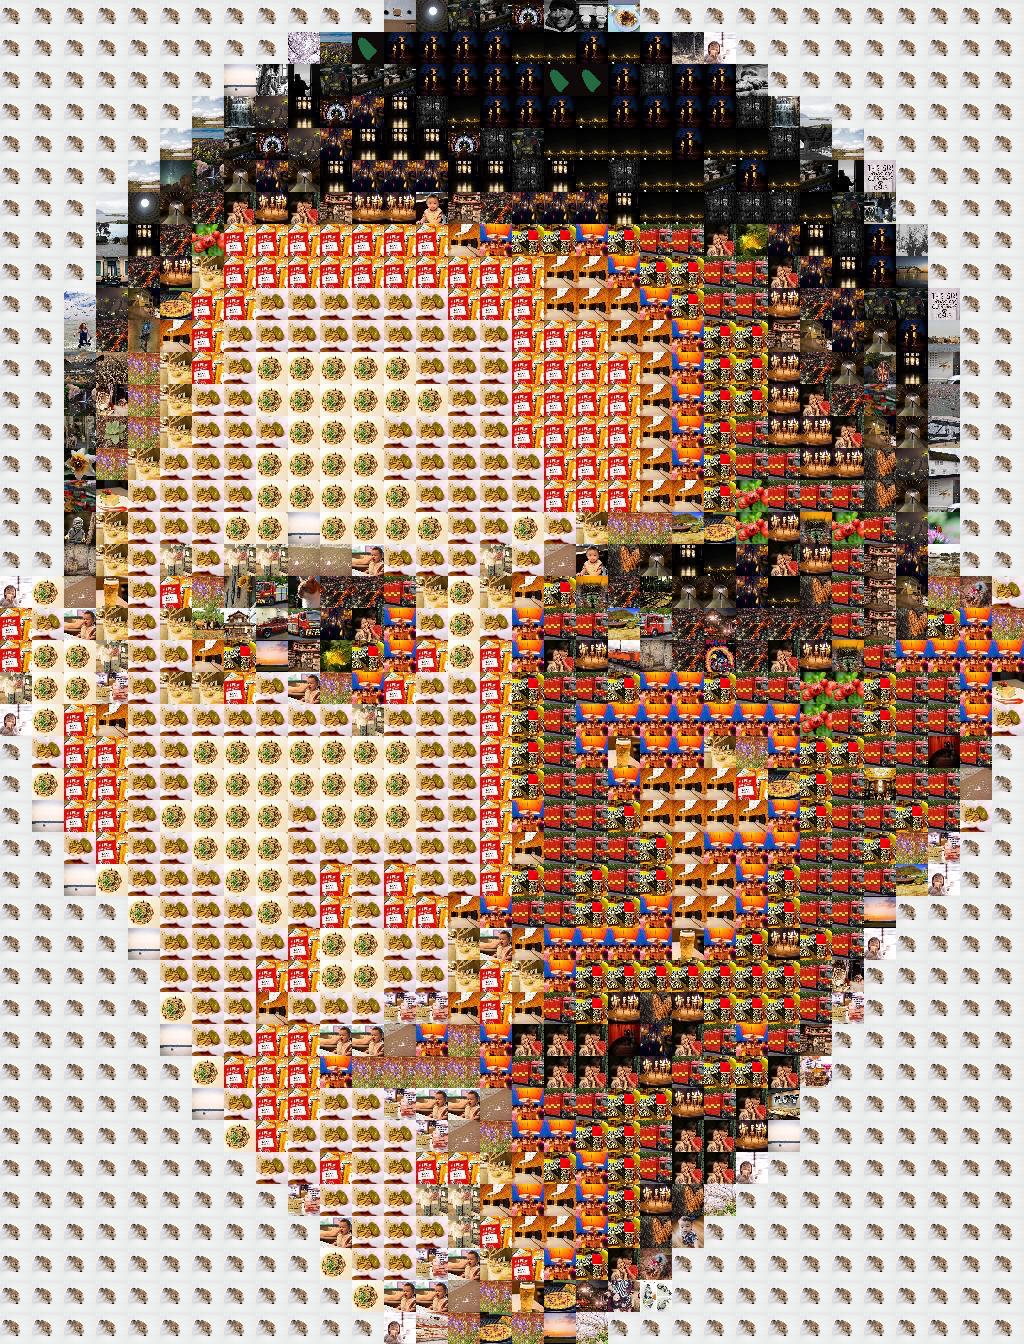
Great! It works! … but so many images are used several times, it sort-of ruins the effect. This is easily overcome though, by randomly selecting one of the top five matches.
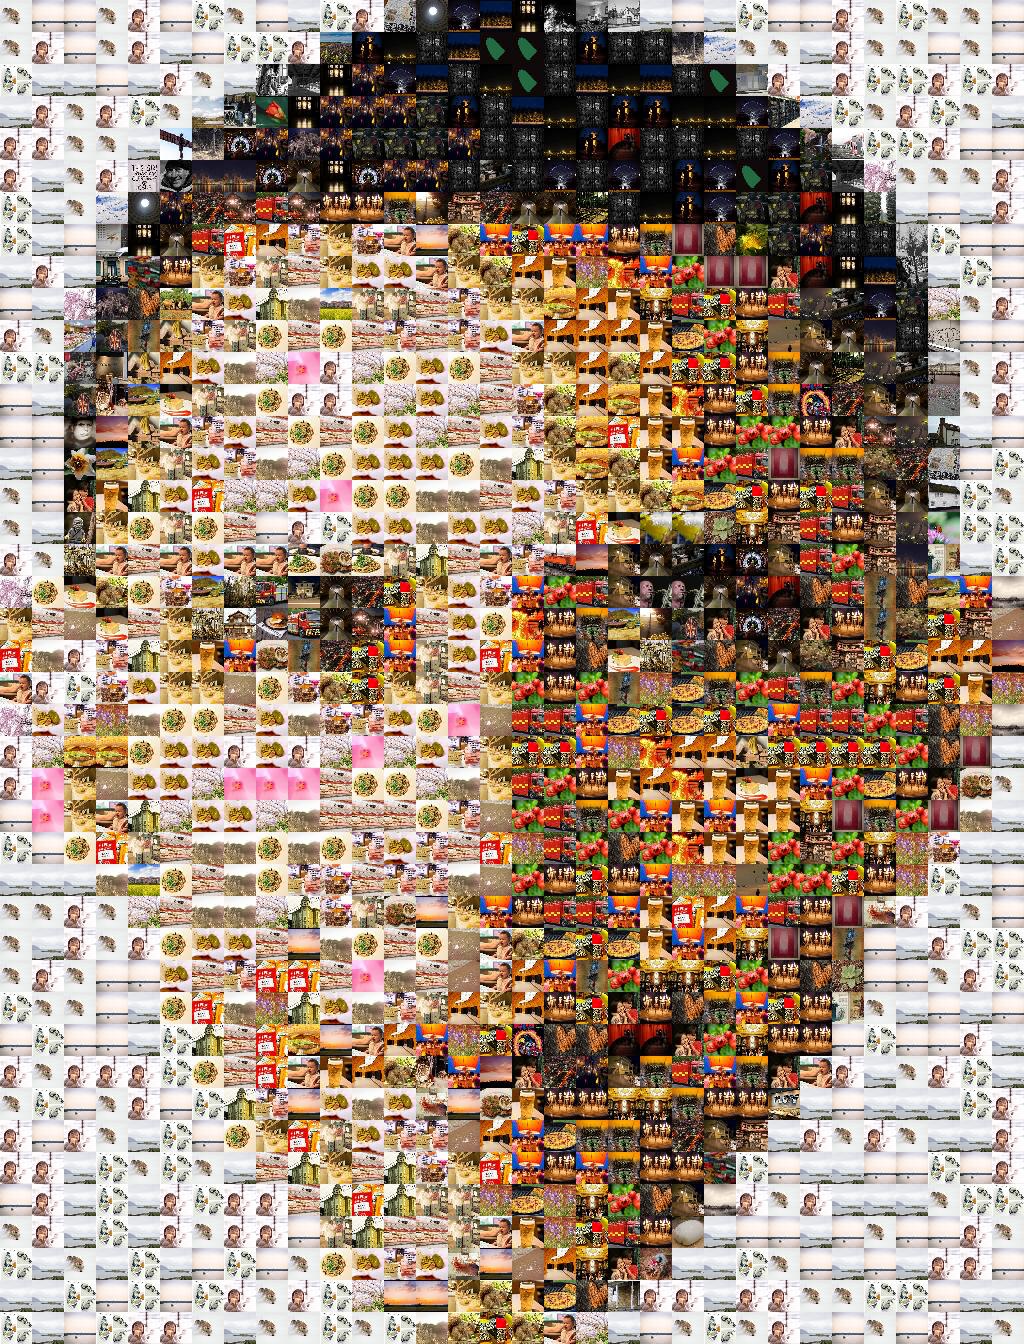
That’s definitely more interesting. And for the sake of completeness, let’s try another face… what about Michelle Obama?
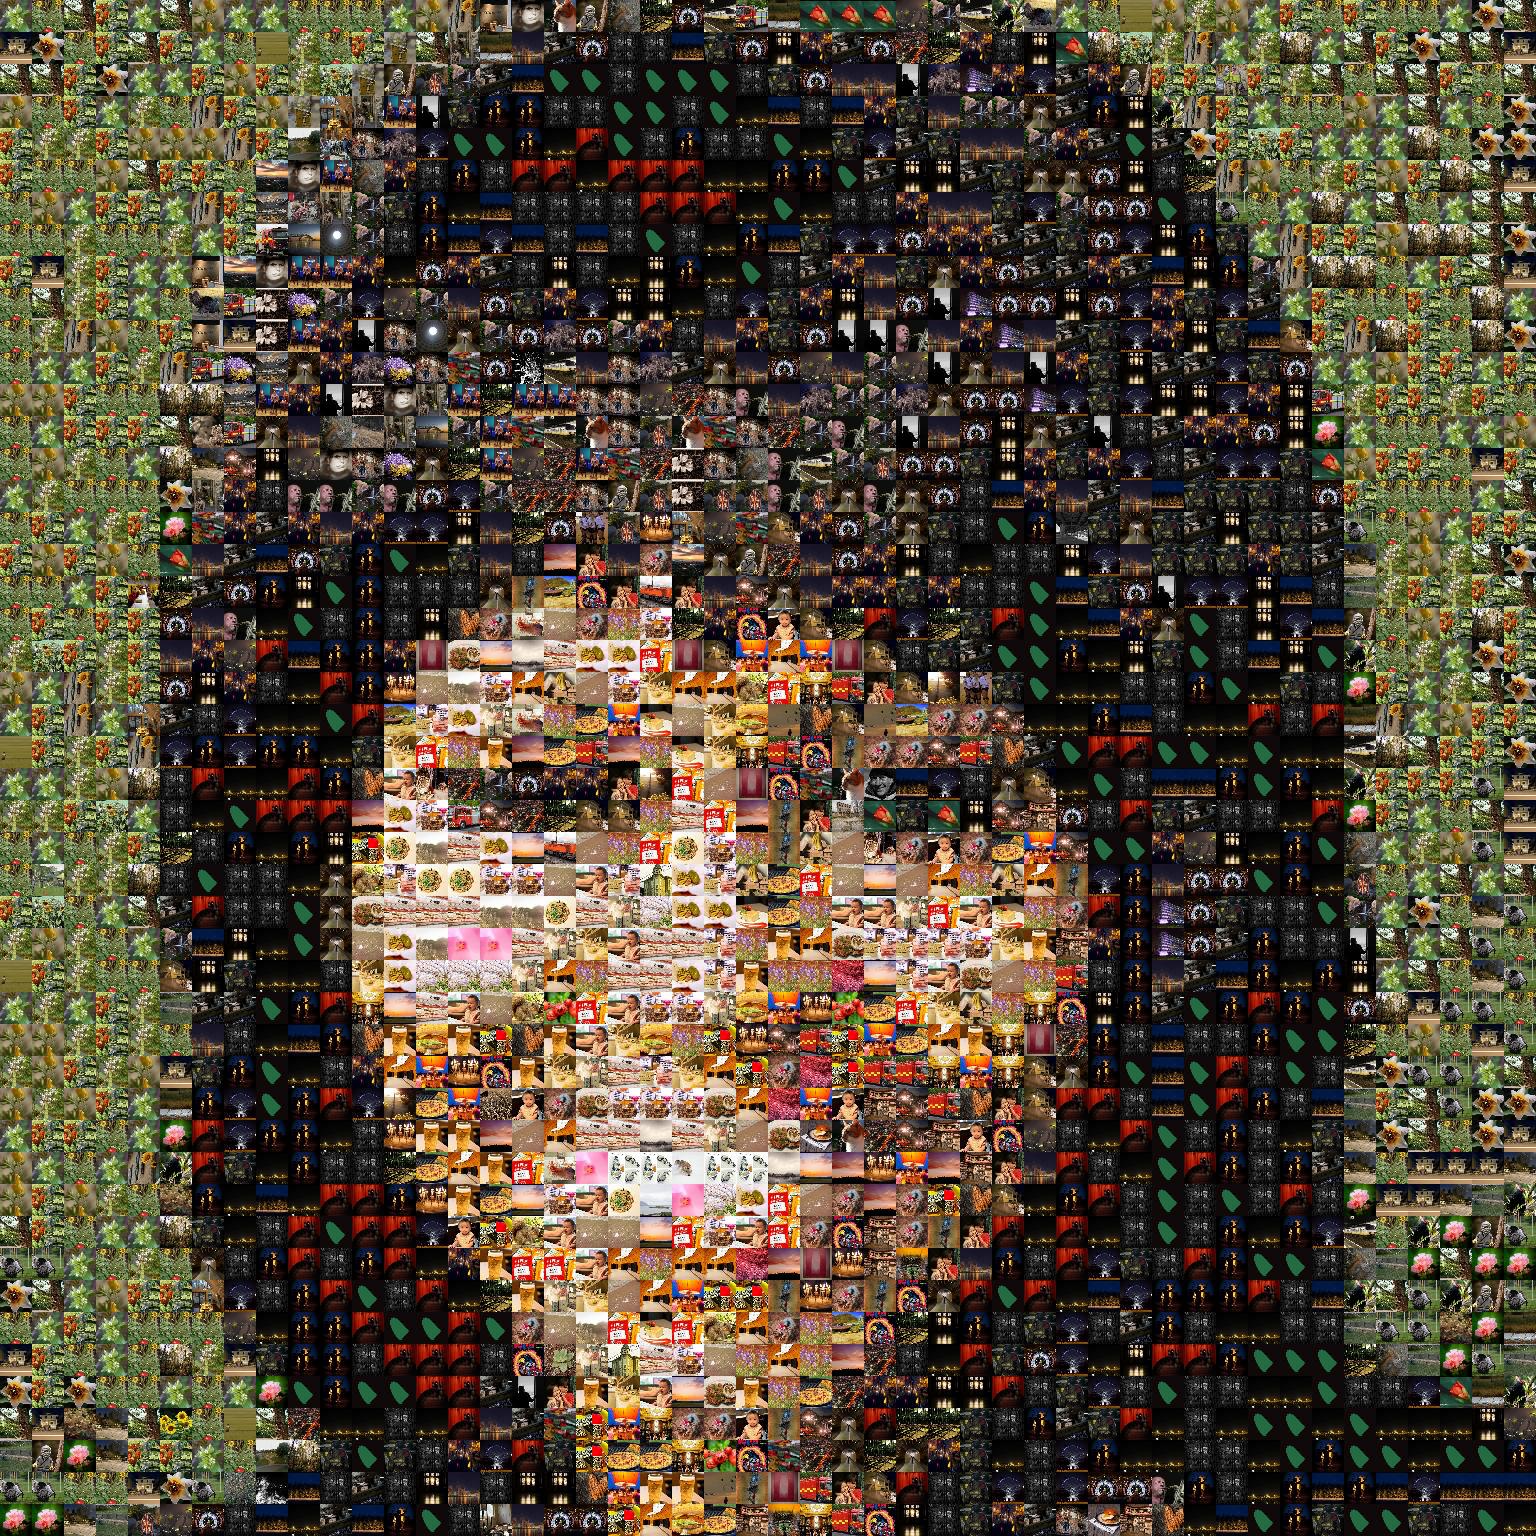
Not bad for an afternoons’ tinkering. The code is available on GitHub, too.